
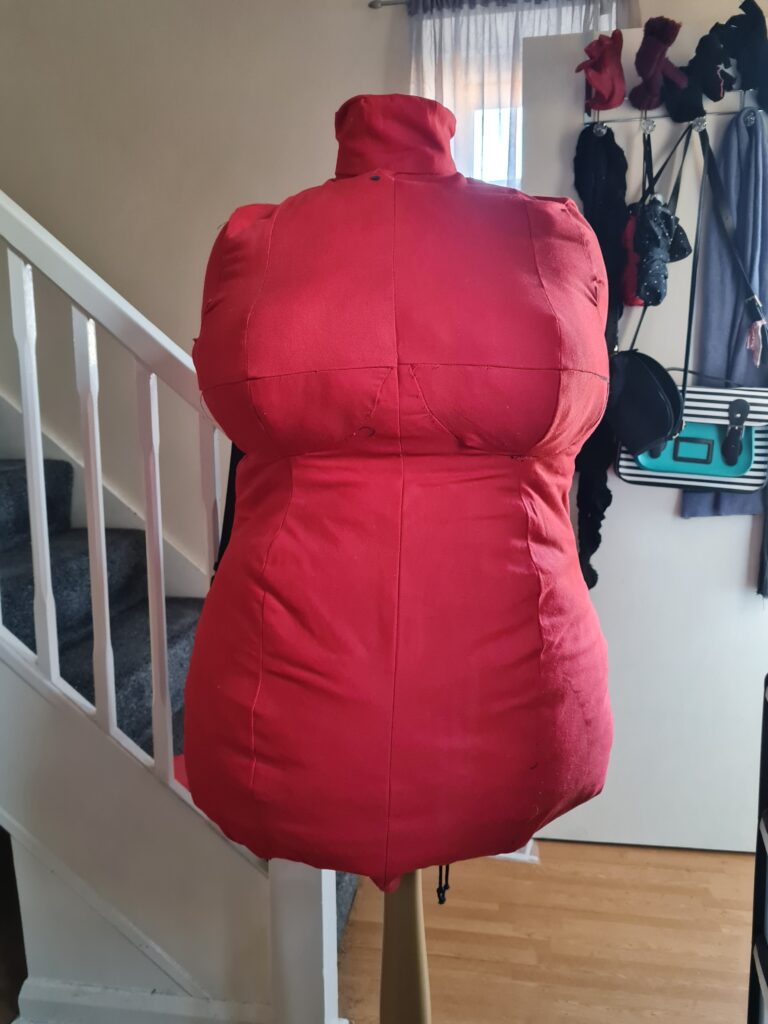


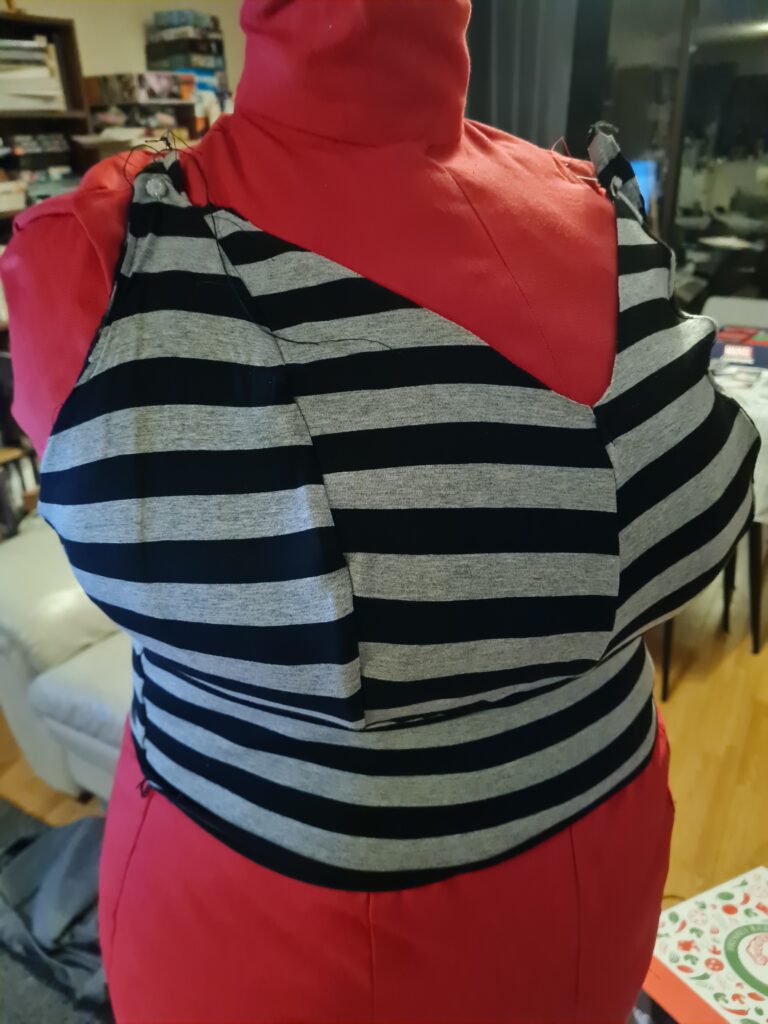


- Pattern: Bootstrap Fashion DIY Plus Size Dress Form
- Materials: 3m red canvas, 2m heavy interfacing, approx. 3-4kg of polyfill, one polystyrene mannequin, hot glue, 14mm eyelet kit, black cord and toggles.
- Started August 2022, mostly finished by November 2022. Actually finished closing her up January 2023.
I want to start making my own clothes, and obviously decided the most logical place to start would be with a dress form. If I can make something roughly my shape and size, I can probably make things to go over it, right? … It was probably not the most logical decision I’ve ever made.
But the end result is my girl Penelope!
No word of a lie, it’s been weird on a body-issues level. I’m fat, I bulge in weird places, I don’t recognise my own shape when I catch it in a mirror. Sometimes it’s fine! Sometimes it’s extremely not! But even when I’m being mean about myself, I look at the dress form and I’m like “But that’s my buddy Penelope, I’m not gonna be mean about her.” Hopefully this will help me when I’m assembling clothes – sure, I can feel some kinda way about how clothes fit me, but am I gonna be cruel about Penelope? Never! And maybe exposure to her will make it easier to not be jolted when I see myself.
The Bootstrap Fashion pattern I used is one where you plug in all of your measurements and an approximate description of your shape, and it spits out a pattern. The accuracy is… Ehhhhh. It’s going off a few generic body shapes, right? So by default the pattern assumes that all of your width is in your belly. 😐 Most of my width is in my hips, so I had to try to fix that with stuffing, and obviously it can’t account for the rolls and stuff I’ve got going on. Possibly I could have adjusted it to do that? The pattern includes files you can tweak before you print if you know what you’re doing, or I could’ve modified the actual paper pattern. I don’t trust my visualisation skills enough for that yet, so I’ve basically made mine with the default structure it came with.
I was so apprehensive about the inside of the dress form. The original pattern calls for cutting a coat rack down to size, attaching a metal pole, and sewing a bunch of supports and pockets into the dress form; not necessarily hard, but enough of a faff that I didn’t trust myself to commit to it. Instead I took inspiration from this video, where the crafter used a much smaller dress form as a core. My mum bought me a cheap polystyrene mannequin for my birthday, and there I went! It fit perfectly into the neck and was the exact right height. The main benefit of the core though? Cutting down on how much stuffing it took. I’ve been working through the same 5kg bag of stuffing for the entire pandemic, and Penelope devoured most of it, even with the mannequin.
This was definitely a learning experience though. I thought I was okay at using notches before this, but Penelope has taught me that I knew nothing. Ditto matching up four seams at once. Ditto working on large things. Ditto interfacing my fabric. Ditto —
Modifications made:
- Skipped the entire inner structure of the dress form because I was using it to cover a smaller mannequin.
- Instead of using cardboard and zips to close the dress form, I… Hot-glued the ends to turn them up, then installed eyelets so I could just cinch it closed.
- I 100% should not have skipped the cardboard supports at the arm holes in the instructions! It would probably have made the arm holes smoother and more stable! But for now I’m happy with that.
Potential changes: I’m pretty sure I need to rig up some internal structure, because right now there is a serious case of monoboob happening. Which is fine for now, because I’m not planning to make anything where that’ll be a problem, but the pattern does specifically go in at the sternum, so possibly attaching a strap or tie to go around the mannequin core will let me pull that into place.
Leftovers: I had a metre of the fabric left over as I skipped out the entire inside structure, and used it to make a witch hat based on this Cholyknight pattern. The leftover interfacing went into making a pillbox hat as a joke for one of my coworkers. Y’know. As you do.